Introducing Sandbox Mode 1.0!
Sandbox Mode allows you to test your integration without having to use real funds!
Any new Projects that you create on the Developer Dashboard will be equipped with both a Live and Sandbox Mode. Existing Projects will remain unchanged; you can continue to use your Live API key(s) and the endpoints listed on the API Reference to Make Money Move.
Projects with Sandbox Mode have:
- A separate wallet to hold fake sats
- A unique API key to use on Sandbox API routes
- Test users, to whom you can send fake sats and view their wallet balance
Roadmap
Sandbox Mode Version 1.0 includes support for the 'Send to Gamertag' endpoint, wherein you can send fake sats to test users. Learn how below.
We will be continuously expanding Sandbox Mode functionality; for example, creating Sandbox Lightning Network Charges and Payments. Let us know what Sandbox features you’d like to see first here.
How to Use Sandbox
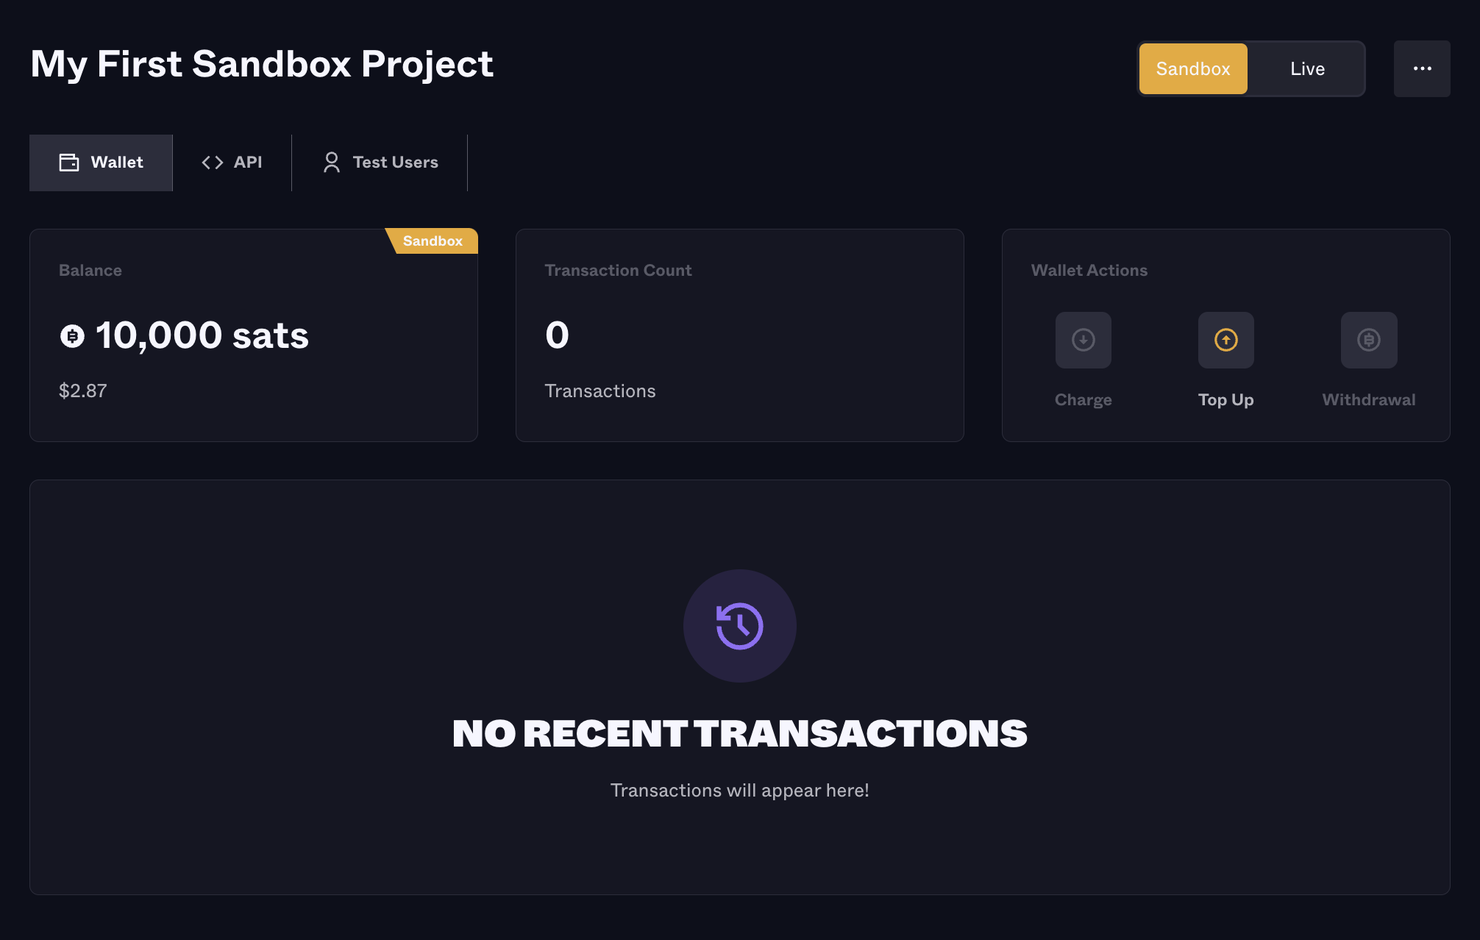
1. Create a new Project. By default, new Projects will open to Sandbox Mode, and your Sandbox Wallet will be funded automatically. Notice the the Live/Sandbox toggle in the upper right of the screen; use this to switch Projects between Live and Sandbox Mode.

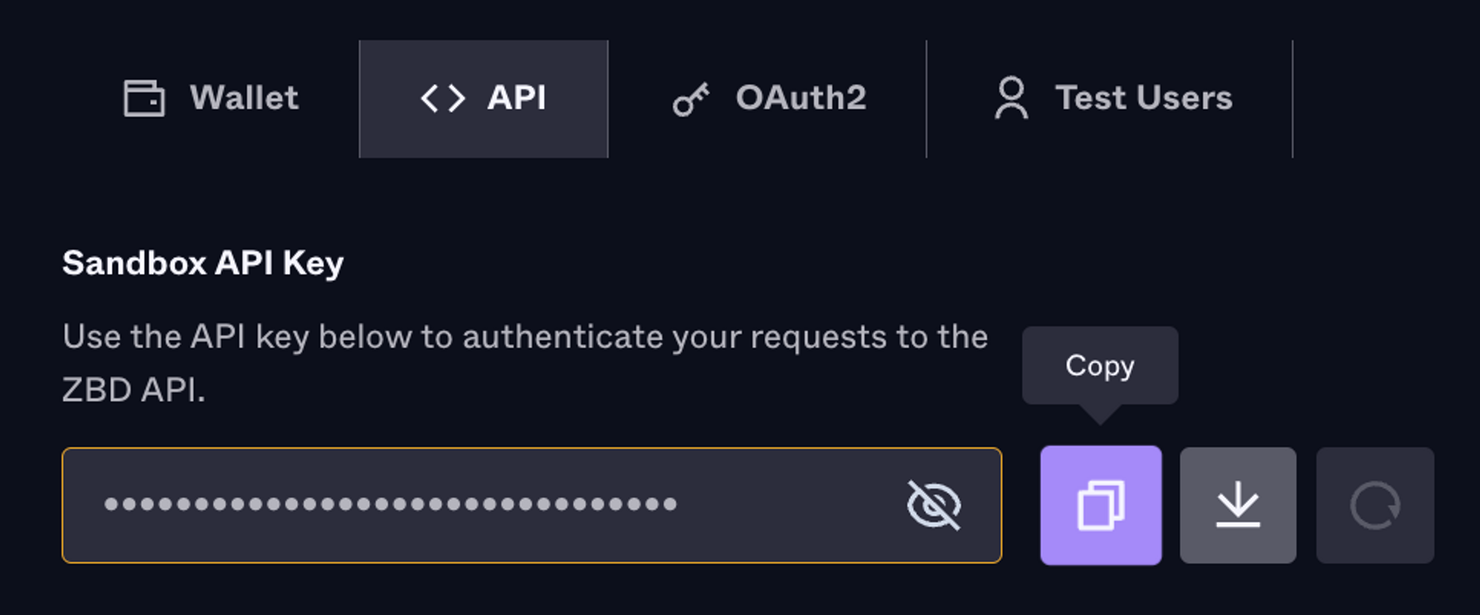
2. Go to the API tab and find your Sandbox API key. Note: Sandbox keys are still protected by your IP Access Controls!

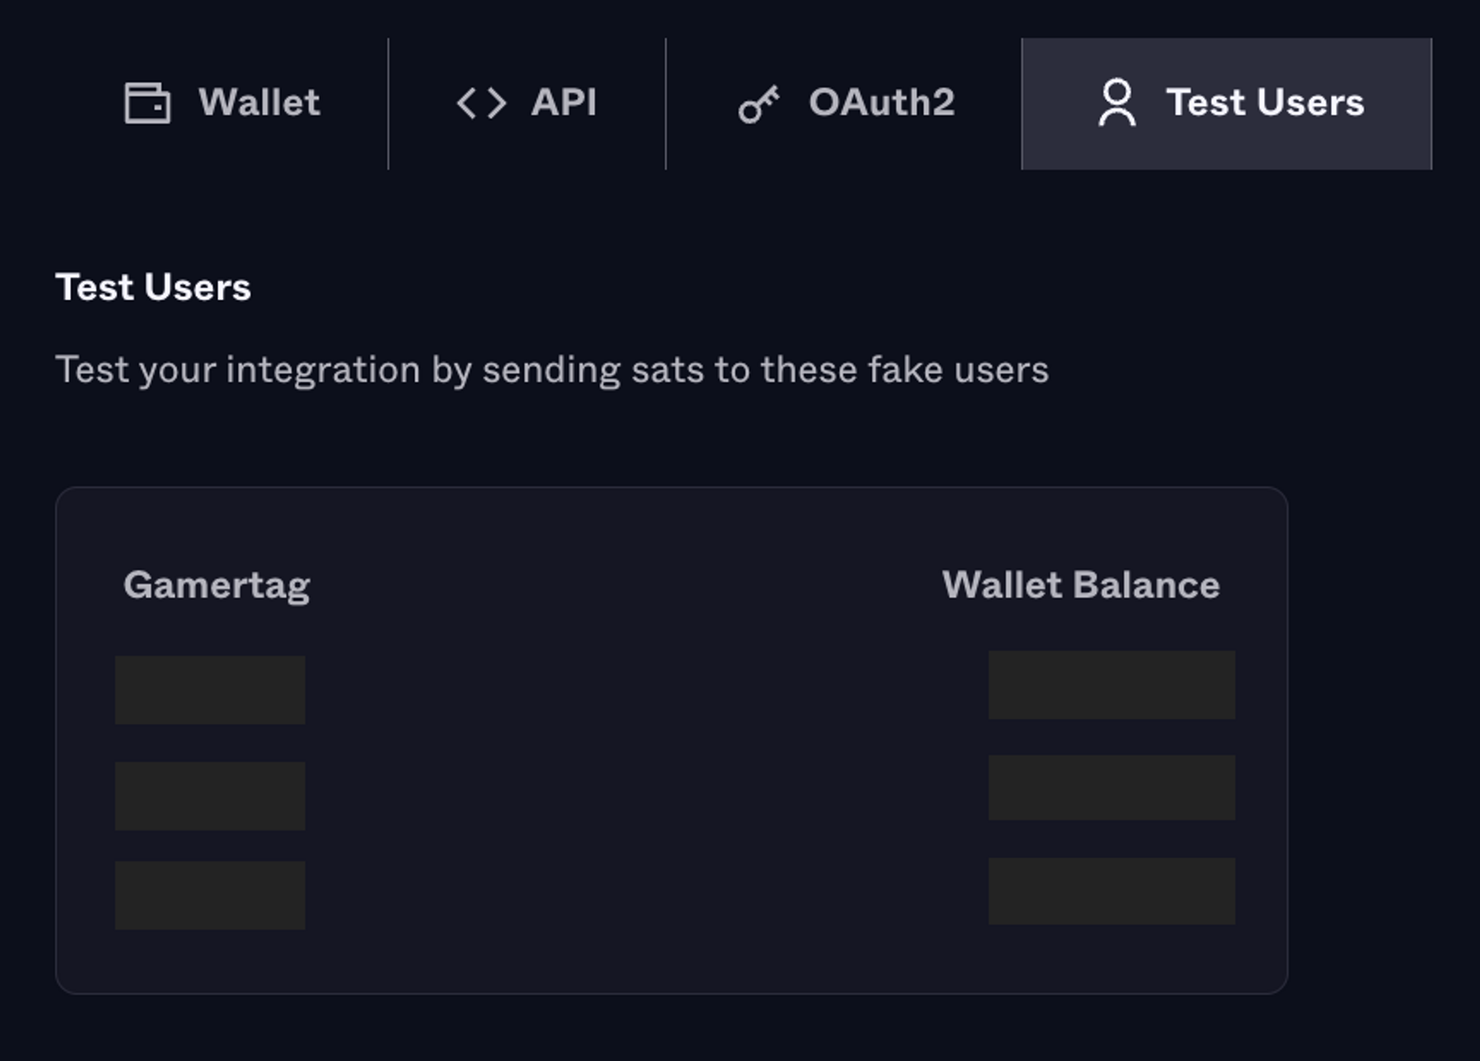
3. Go to the Test Users tab to find Sandbox user gamertags. You can monitor the Wallet Balance for these test users here. Note: Test users are shared across all of your Projects.

4. Test the Send to Gamertag endpoint

5. View the transaction on the Wallet Transaction History table, and view the Test User Wallet balances on the Test Users tab.
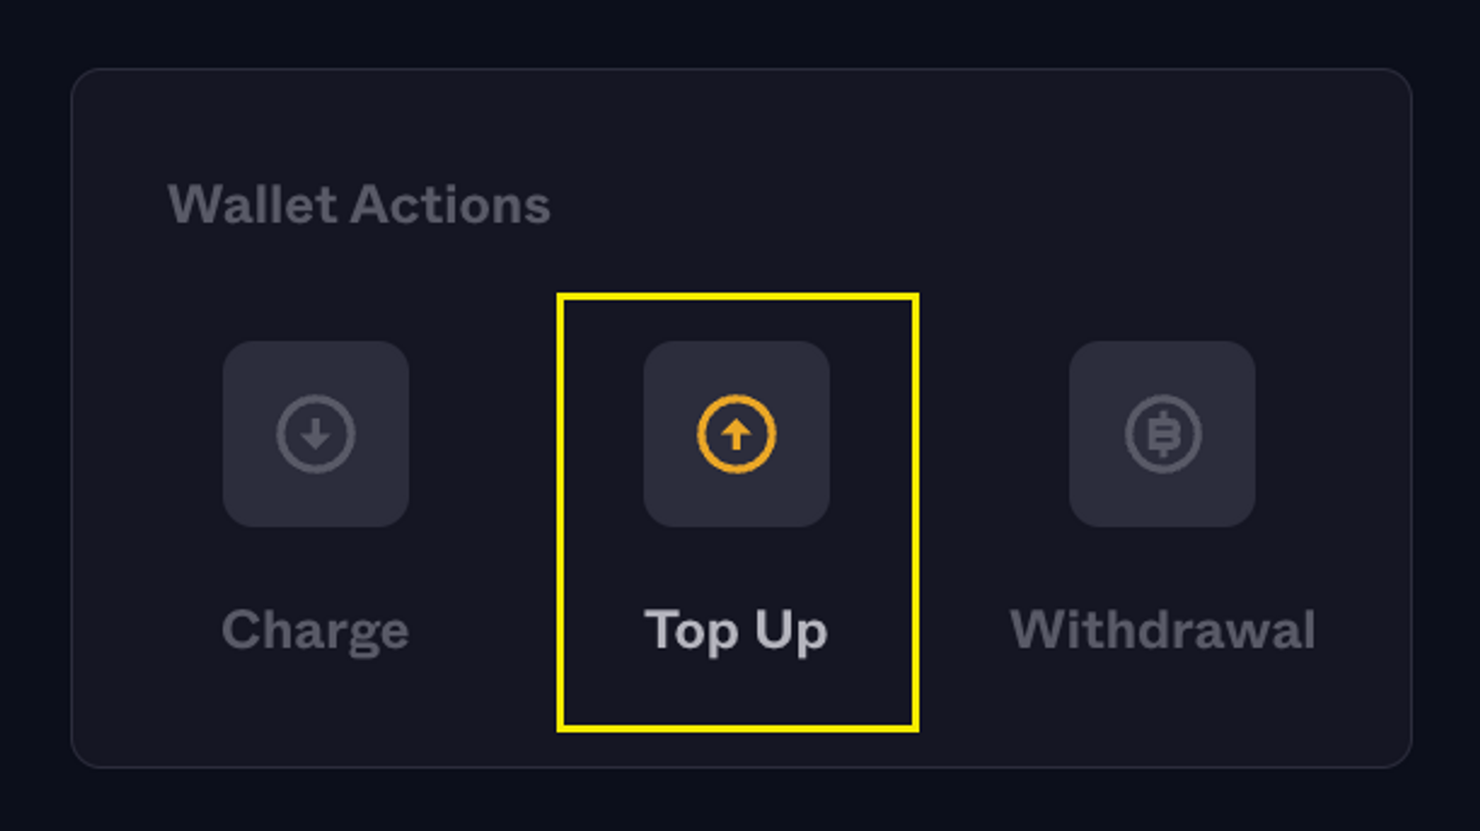
6. If you run out of fake sats to test with, you can add more funds to a Project through the Top Up button in Wallet Actions.
